The incubation and hatching of Japanese bantam eggs.
Table of Contents
Hatching small eggs in an incubator requires you to make use of smaller egg rolling trays so as the eggs are not left in one position for too long or not turned properly.
Also I have discovered that with Japanese bantam hatching eggs can't really use the egg turning trays that hold the eggs upright, they are too loose and the eggs rock back and forth rather than being turned gently.
True bantam eggs need to be incubated and hatched on their sides.
Incubation of Japanese bantam eggs:
It takes 20 to 21 days for Japanese bantam eggs to hatch. With birds, the smaller the egg the faster it tends to hatch and the same is true with bantams, the smaller eggs of the true bantams tend to hatch a day or so early.
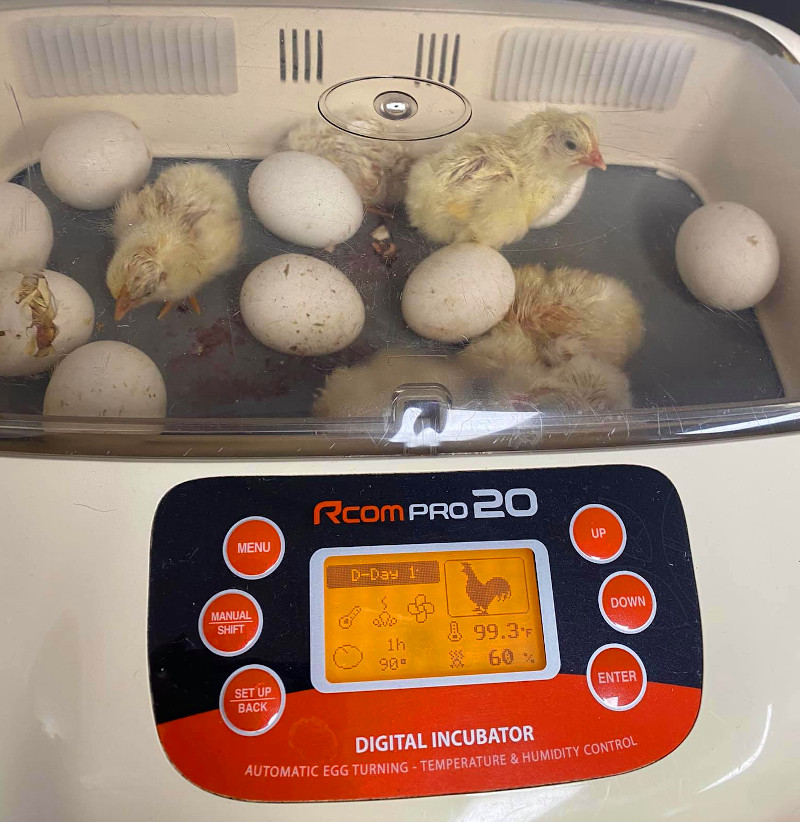
Below: Japanese bantam chicks hatching my Rcom 20 incubator.
Japanese bantam eggs should hatch half to 1 day before large fowl eggs and they should not be mixed in the incubator.
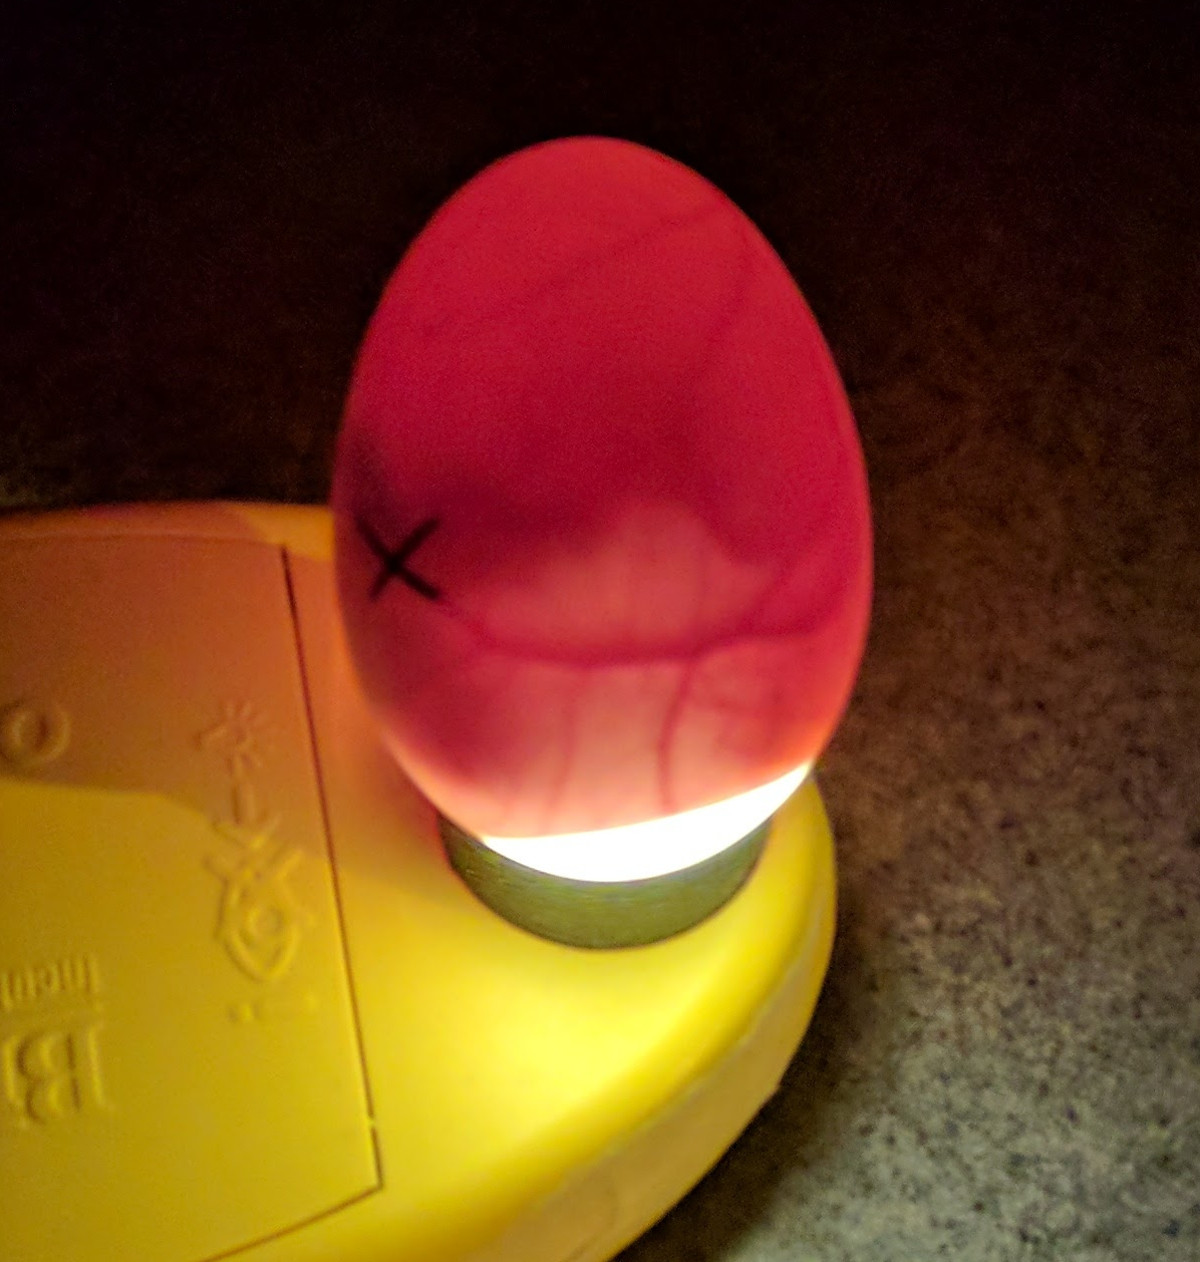
Select eggs that are clean with good shells and candle the eggs you intend to set to make sure they contain a yolk.
Eggs for hatching should be clean and be 1.4 times as long as they are wide.
Incubator settings for Japanese bantam eggs:
Make sure your incubator is up and running for a full 24 hours before you set the eggs and allow the temperature and humidity to stabilise.
My incubator settings for Japanese bantam eggs are:
- Temperature should be 99.1 to 99.5°F for forced air incubators and 101°F for still air incubators.
- I have my humidity set at 55 to 60% during the fist 16 days and then raise it to 65% for hatching.
- I turn my egg roller off on day 16. This is a day before I would do with large fowl eggs.
Having a stable humidity is more important than the actual value so if you can only get 50% but it is constant then it will be fine. You do not need to spray chicken eggs with water in the incubator, this just causes wild fluctuations in humidity and temperature.
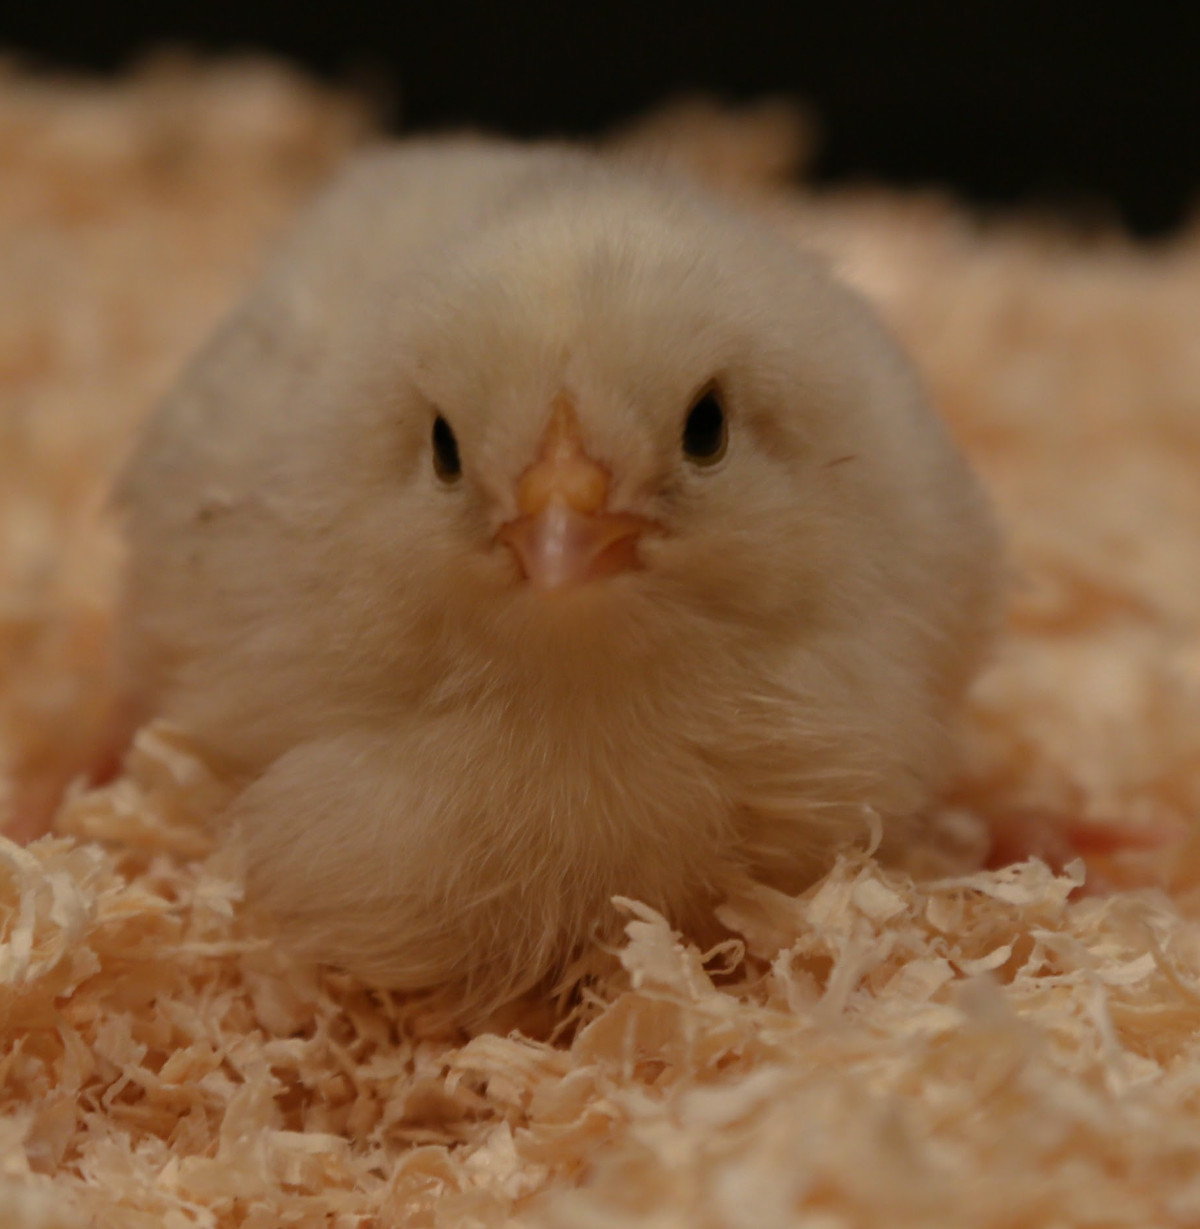
Below: A Japanese bantam chick.
You should not open incubator during hatching and leave the chicks to hatch naturally in their own time. They are small and even more susceptible to being shrink wrapped in the egg membranes.
Hatching Japanese bantams naturally:
A prefer to use smaller nest when hatching Japanese bantams, it makes them feel more comfortable.
Japanese bantams are regular broodies and attentive mothers and can be used to hatch eggs naturally. Because of their small size they need a little extra care on the nest and it is doubly important that they are free from parasites and comfortable.
Such small chicken do not carry a lot of reserves and can struggle if not cared for properly on the nest.
Tips for successful hatching:
- Collect the eggs early in the day and store cool.
- Select clean eggs free from cracks, blemishes and dirt.
- Let eggs rest for 24 hours for the temperature to stabilise and the air cell to form.
- Use clean and sterile equipment.
- Do not mix bantam and large fowl eggs.
- Set the incubator where it won't encounter draughts, heaters or sunshine.
- Take accurate measurements. Quality analogue hygrometers and thermometers are essential.
- Candle before setting to assess shell quality and look for cracks.
- Resist disturbing the incubator, especially during the first 10 days as the embryos are susceptible to damage.
- Be patient.